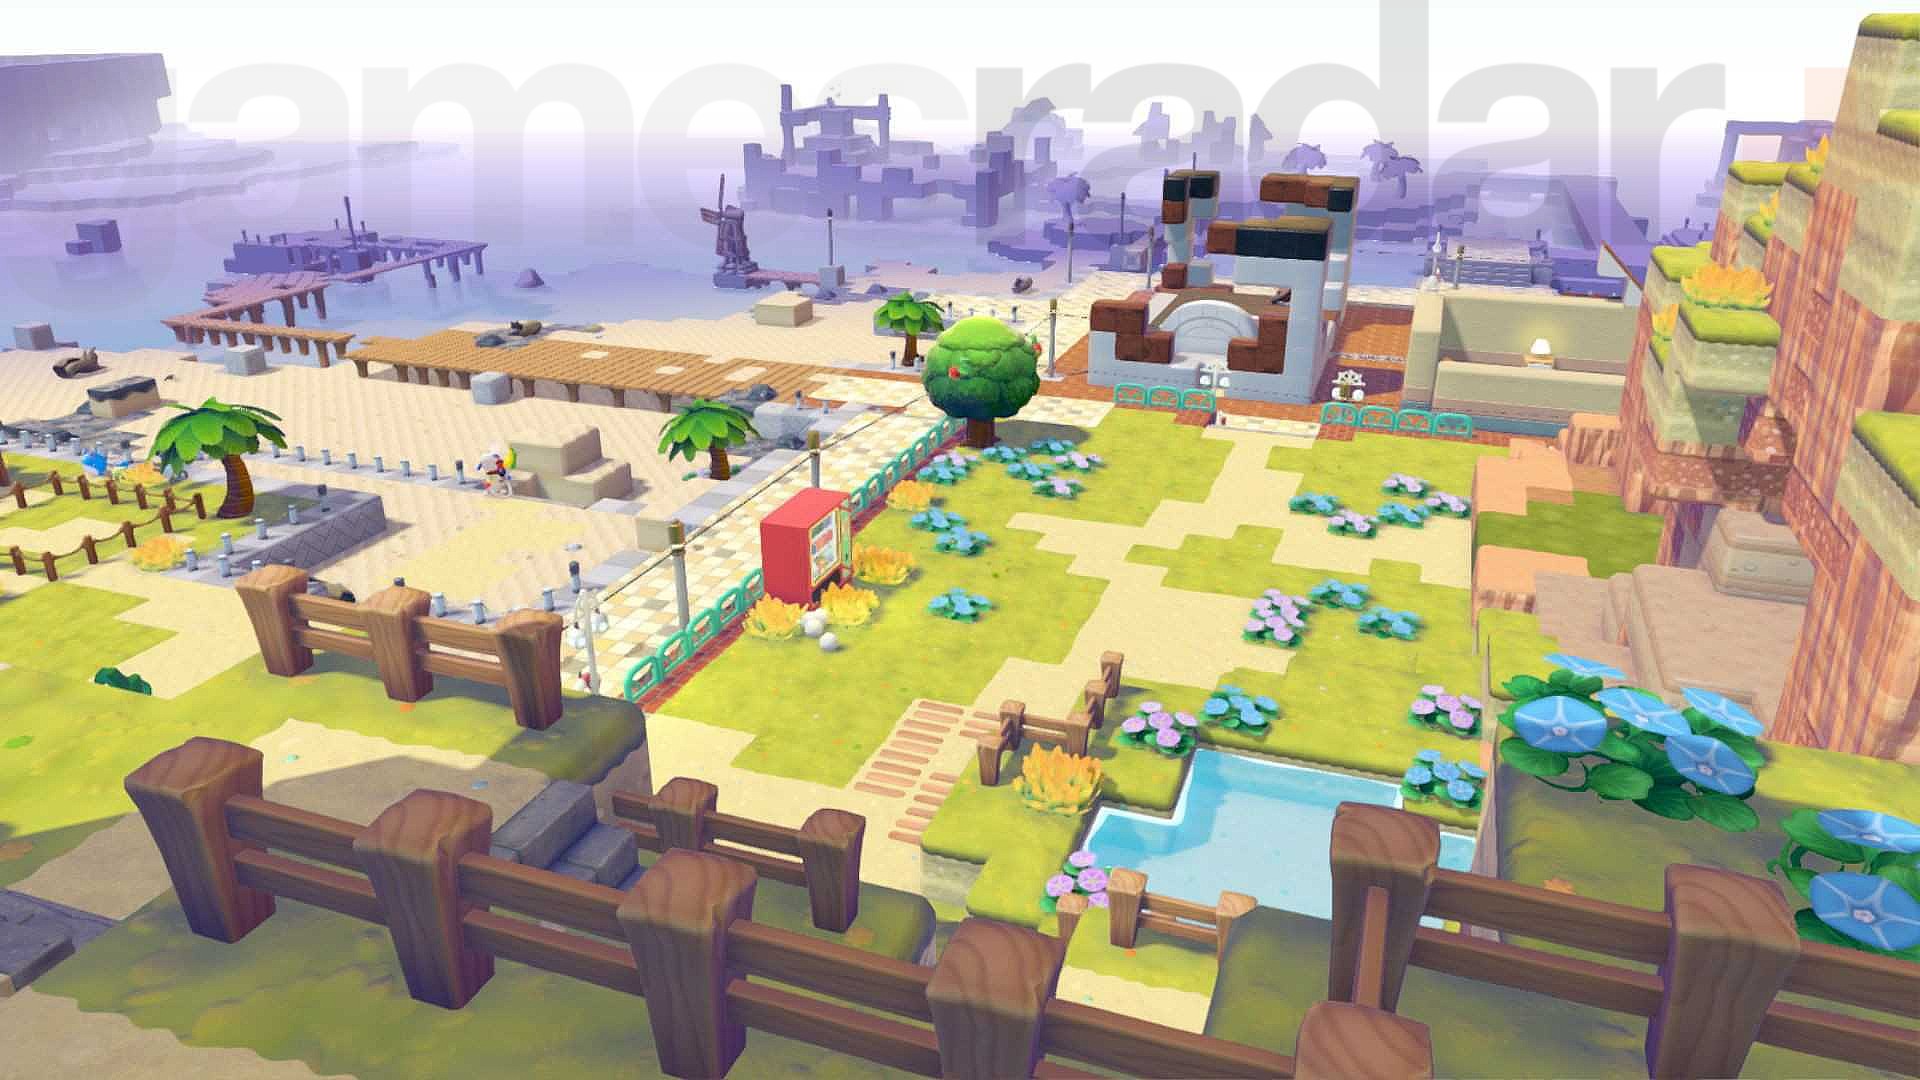
Hide and Seek is easy to miss in Pokemon Pokopia de Switch 2 because it only surfaces through a specific dialogue option with a companion Pokemon. Once it's unlocked, though, it becomes one of the fastest ways to farm Friendship points and the only source for a handful of exclusive cosmetics. This guide covers how sessions work, which Pokemon can hide, where they tend to hole up in each region, and how the reward and achievement system is structured.
What Is Hide and Seek?
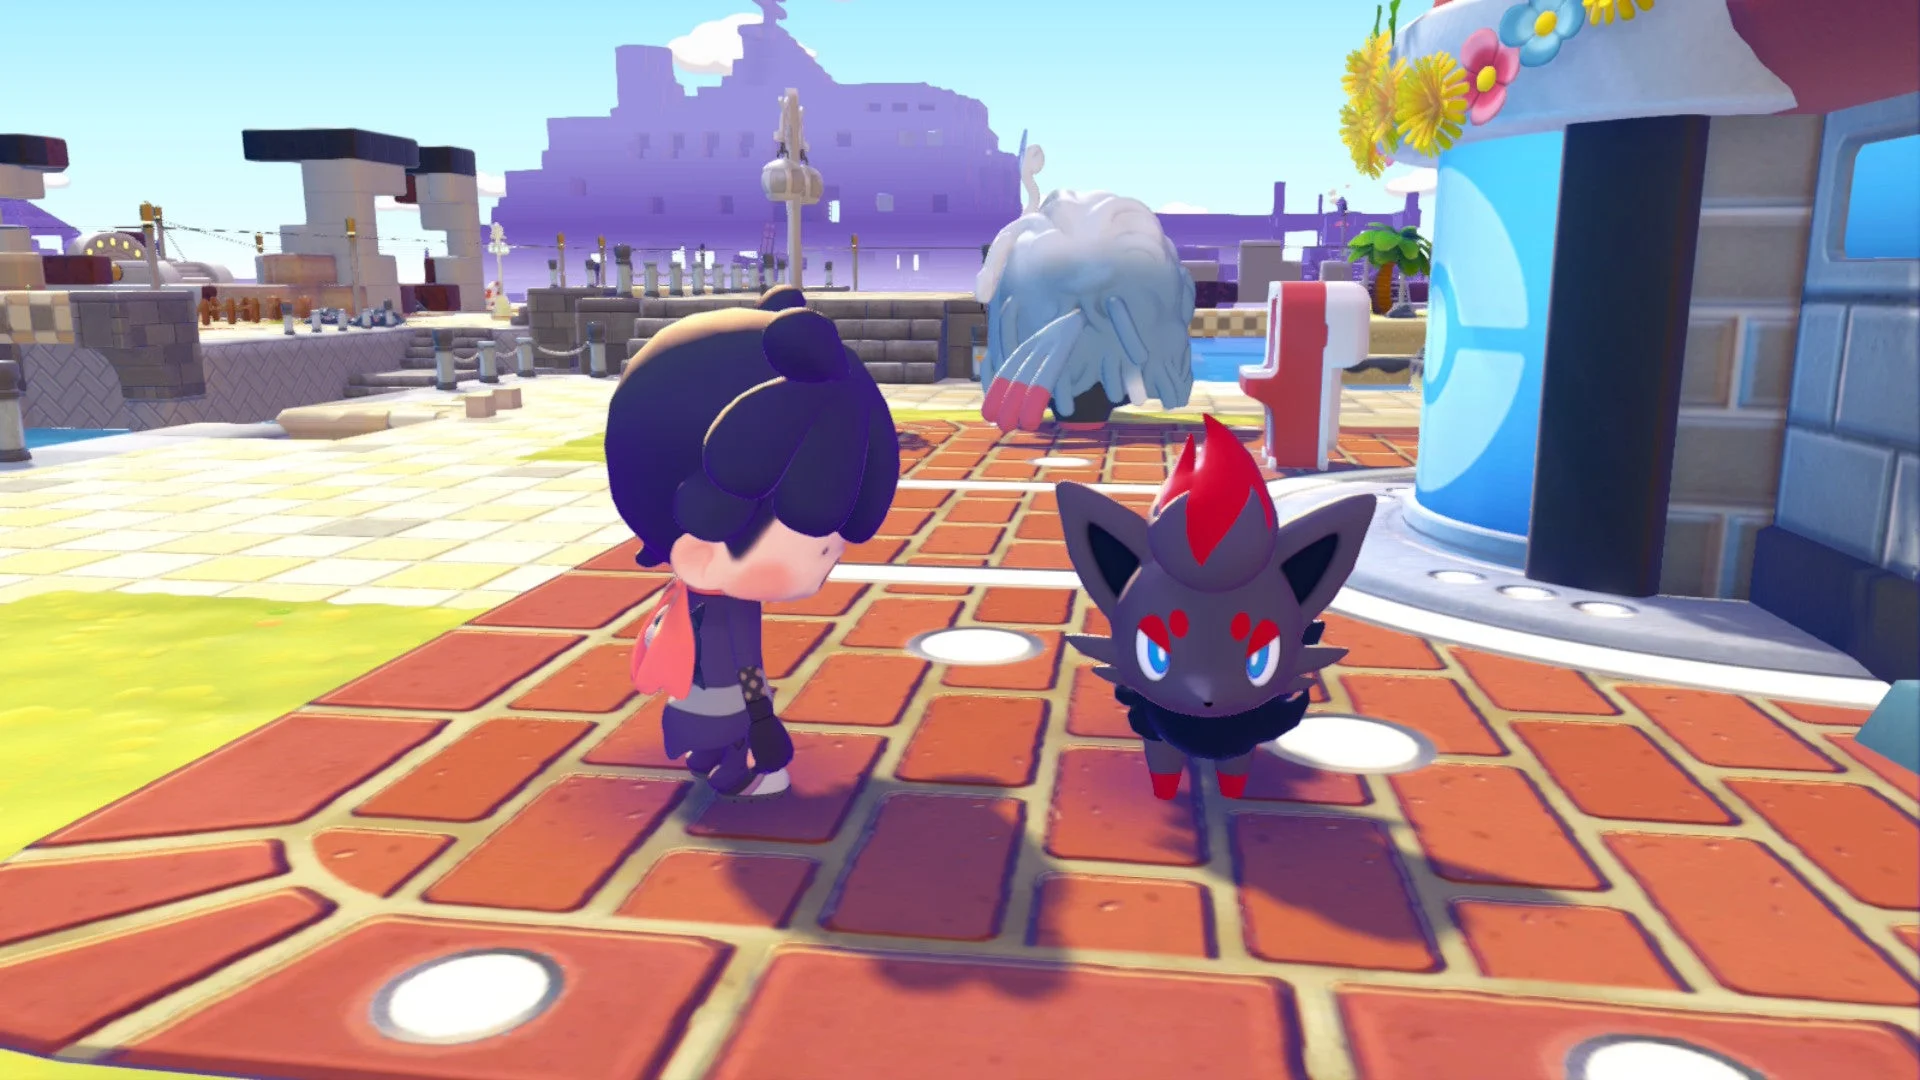
Hide and Seek is a recurring minigame triggered by talking to a companion Pokemon and picking the right dialogue option. The game quietly selects 3 to 5 eligible Pokemon and scatters them across whichever regions you've already unlocked through the main story. There's a short 10-second hiding window where the screen fades to black, then a real 5-minute countdown begins — find every hidden Pokemon before it runs out and the round counts as a Perfect. Outside of Friendship points, this minigame is the only way to earn a few cosmetic items, including the Detective Hat, the Magnifying Glass accessory, and the Striped Bandana, and the seasonal cosmetic pool rotates every few months.
How to Start a Session
Three conditions need to be met before the option even appears:
- At least 5 companion Pokemon living on your island
- Environment Level 2 or higher
- The group's cooldown has reset (1 in-game day since your last session with that group)
Once those boxes are checked, talk to any eligible Pokemon, choose "Let's play!" from the dialogue wheel, then pick Hide and Seek from the submenu that opens.
Every Pokemon That Can Hide
Legendary and Mythical Pokemon never join a round, even ones already registered in the Pokedex — that holds true for Mythicals unlocked through limited-time events too.
| Pokemon | Region(s) | Difficulty | Where It Tends to Hide |
|---|---|---|---|
| Drilbur | Withered Wastelands | Easy | Underground pockets and sandstone arches |
| Bidoof | Withered Wastelands | Easy | Blends into logs and rock piles in plain sight |
| Eevee | All four regions | Medium-Hard | Gets tougher fast as Friendship climbs |
| Sentret | Withered Wastelands | Medium | Tall grass and raised platforms |
| Hoothoot | Rocky Ridges | Hard | Tree canopies and cliff ledges at night |
| Cubone | Rocky Ridges | Medium | Bone-shaped rock formations and cave mouths |
| Combee | Sparkling Skylands | Hard | Cracks in the clouds at high altitude |
| Rattata | All four regions | Easy | Behind crates, fences, and small structures |
| Pichu | Withered Wastelands | Medium | Electric poles, fence posts, and lamp posts |
| Buneary | Bleak Beach | Medium | Driftwood piles and tide pool shadows |
| Skitty | Sparkling Skylands | Medium | Decorative fountains and pink cloud corners |
| Pidgey | All four regions | Hard | Tree canopies and high rooftops |
| Caterpie | Withered Wastelands | Easy | Under leaves at ground level |
| Sunkern | All four regions | Hard | Camouflaged among crops and yellow flowers |
| Wooper | Bleak Beach | Easy | Tide pools and shallow water |
The Five Hiding Spot Types
| Type | Typical Region | What to Look For |
|---|---|---|
| Cave pockets | Rocky Ridges | Small alcoves near cave or mine mouths, favored by Drilbur and Cubone; they sit in shadow, so a Pokemon with night vision helps |
| Tree canopies | Withered Wastelands, Rocky Ridges | Inside the foliage of tall trees; Hoothoot, Pidgey, and high-Friendship Eevee love these, but the default camera angle misses them entirely |
| Water reflections | Bleak Beach | Partly submerged near water, giving away a faint reflection or ripple; Wooper and Buneary favorites |
| Structure gaps | Withered Wastelands, near player bases | Fence backs, open windows, gaps between buildings; gets brutal once a base has a lot of structures packed together |
| Cloud pockets | Sparkling Skylands only | Cracks and subtle color shifts in the cloud terrain; the hardest category thanks to depth perception issues at altitude |
Where to Look, Region by Region
Withered Wastelands
Six sandstone arches ring the central wasteland, and roughly four out of five sessions hide at least one Pokemon in or on top of one of them. The cracked tower to the northeast and the broken mill to the south are close behind.
Rocky Ridges
The four main cave mouths are the best first stop — anything within about 5 blocks of an entrance is fair game. Cliff ledges come next, especially the three stacked ledges on the eastern ridge, and Hoothoot tends to gravitate toward the dead trees at higher elevation.
Bleak Beach
Driftwood piles are this region's signature hideout — every beach segment has 2-3 of them, and the game rotates which one is active. Tide pools rank second, but they fill and drain with the tide, so a Pokemon can end up fully submerged at high tide. Check where the rocks meet the sand as well.
Sparkling Skylands
This region is almost entirely cloud platforms spread across three altitude bands, and Combee and Skitty gravitate toward the highest one. The fountains in the central plaza are a reliable secondary spot. Watch the cloud texture closely — a patch a shade off from its surroundings is almost always hiding something.
Difficulty Tiers Explained
- Easy (low-Friendship Drilbur, Bidoof, Rattata, Wooper, Caterpie): sits near landmarks with an obvious idle animation — a swaying tail, a moving leaf, a limb poking out of cover.
- Medium (mid-Friendship Eevee, Sentret, Cubone, Buneary, Pichu, Skitty): tucked 20-40 blocks off the main path with a subtler animation, usually just an ear or tail twitch, and picks cover that blocks line of sight from the nearest spawn point.
- Hard (Hoothoot, Combee, Pidgey, Sunkern, and any species at maximum Friendship): far away or elevated, with barely any animation — sometimes only a ground shadow or a sound cue gives it away. Hard-tier hideouts can stack, putting two hidden Pokemon within 10 blocks of each other and doubling the visual noise.
Friendship level pushes a Pokemon toward harder hiding behavior over time, so your closest companions get sneakier the longer you've had them.
Timer, Pausing, and Giving Up
The base timer is 5 real-time minutes per round. Opening the inventory, map, camera mode, or fast-travel pauses it, so checking your bag mid-round is free — but doing it constantly usually means you've lost track of the round. Reaching zero with Pokemon still hidden ends the round as Partial, which pays 50% Friendship but breaks your Perfect streak toward the Champion achievement. Talking to the host Pokemon again ends the round early as a Surrender, which pays nothing but resets the group's cooldown faster — 12 in-game hours instead of 24.
Tip: there's no reroll if you don't like the hideout spread — a session locks in the moment it starts. The upside is that the game avoids repeating the exact same spot twice in a row for the same group, so a sandstone arch that stumped you last time is very unlikely to hide anyone again for at least your next two sessions.
Rewards: Friendship, Cosmetics, and Items
| Result | Friendship per Pokemon | Bonus |
|---|---|---|
| Perfect (all found, time left) | 25 | 1 cosmetic item + 50 Life Coins |
| Complete (all found, no time left) | 15 | 25 Life Coins |
| Partial (some found) | 10 | None |
| Surrender | 0 | None |
The cosmetic pool rotates by in-game season. Spring brings the Flower Crown, Petal Earrings, and Pollen Cape. Summer swaps in the Sun Visor, Beach Towel, and Crab Backpack. Autumn adds the Leaf Pin, Acorn Necklace, and Striped Scarf. Winter rotates through the Snow Cap, Glowing Lantern, and Plush Mittens.
Three cosmetics never rotate out because they're tied to specific unlocks instead of the seasonal pool: the Detective Hat (Master Seeker achievement), the Magnifying Glass accessory (Hide and Seek Champion achievement), and the Striped Bandana (available from the cosmetics vendor after your first Perfect round).
Hide and Seek Achievements
- First Find — win a single round with at least one Pokemon found. Reward: 100 Life Coins. Unlocks the first time you finish any session.
- Hide and Seek Champion — string together three consecutive Perfect rounds. Reward: 500 Life Coins + Magnifying Glass accessory, which adds a faint glow near hidden objects. Any Partial or Surrender resets the streak to zero.
- Master Seeker — reach 50 total round wins (Perfect, Complete, or Partial all count as long as at least one Pokemon was found). Reward: 1,000 Life Coins + Detective Hat, one of the rarest cosmetics in the game.
Why You Can't Find Anyone (Troubleshooting)
- Camera angle. Canopies, roofs, and cloud platforms are invisible from the default ground-level camera — tilt it up manually near every tall structure.
- Dense bases. Lots of adjacent buildings hide structure gaps well, and the game won't spare your base interior. After about 4 minutes with nothing found, walk through every room.
- Audio cues. Each hidden Pokemon loops a soft idle sound. Turn music down and SFX up before a session for a noticeable edge.
- Weather and lighting. A Wooper hiding in a tide pool shows its reflection far more clearly in daylight than at night. If you keep failing at night, sleep until morning and try again.
Tips for Faster Rounds
- Bring the right helper. A non-hidden Eevee has a passive scout behavior and runs toward the nearest hidden Pokemon once you're within about 15 blocks; Pidgey grants a brief vision boost while climbing; Pichu lights up dark cave corners from farther away.
- Sweep in the same order every time. Withered Wastelands arches, then Rocky Ridges cave mouths, then Bleak Beach driftwood, then Sparkling Skylands clouds. Using fast-travel between stops, this route covers most common spots in under 3 minutes.
- Lock the camera on anything suspicious the moment you spot it, then keep moving — you won't lose track of it while checking elsewhere.
- Don't panic in the last minute. The timer pauses in menus, so open your inventory to catch your breath, think through what you haven't swept yet, and finish deliberately. Rushed final minutes are where obvious spots get missed.
FAQ
What is Hide and Seek in Pokemon Pokopia?
A recurring minigame where 3-5 companion Pokemon hide across your unlocked regions for 5 minutes.
Finding them all rewards Friendship points and, on a Perfect round, an exclusive cosmetic item.
How do I unlock Hide and Seek?
Have at least 5 companion Pokemon and reach Environment Level 2, then talk to an eligible Pokemon
and pick it from the dialogue menu. There's a 1 in-game day cooldown between sessions with the same
group.
Which Pokemon can hide?
Most non-Legendary, non-Mythical companions, including Drilbur, Bidoof, Eevee, Sentret, Hoothoot,
Cubone, Combee, and Rattata among others.
How long does a round last?
5 minutes of real time, paused whenever you're in a menu, the map, camera mode, or fast-traveling.
What do I get for playing?
Friendship points scaled to how the round went, plus Life Coins and, on Perfect rounds, a seasonal
cosmetic. Three Perfect rounds in a row unlock the Hide and Seek Champion achievement.
How often can I play?
Once per in-game day per group, but rotating between different groups of Pokemon lets you play
more often than that.
What are the hardest hiding spots?
Cave pockets in Rocky Ridges, tall canopies in Withered Wastelands, driftwood piles in Bleak Beach,
and cloud platforms in Sparkling Skylands — all of which get worse as the hiding Pokemon's
Friendship level climbs.
Are there Hide and Seek achievements?
Yes, three: First Find, Hide and Seek Champion, and Master Seeker, the last of which grants the
rare Detective Hat.
Final Thoughts
Hide and Seek rewards routine more than luck — once you know the handful of spots each region reuses, most rounds turn into a quick checklist instead of a real search. Keep an eye on your Pokemon's Friendship level too, since your closest companions eventually graduate into the hardest tier to spot.