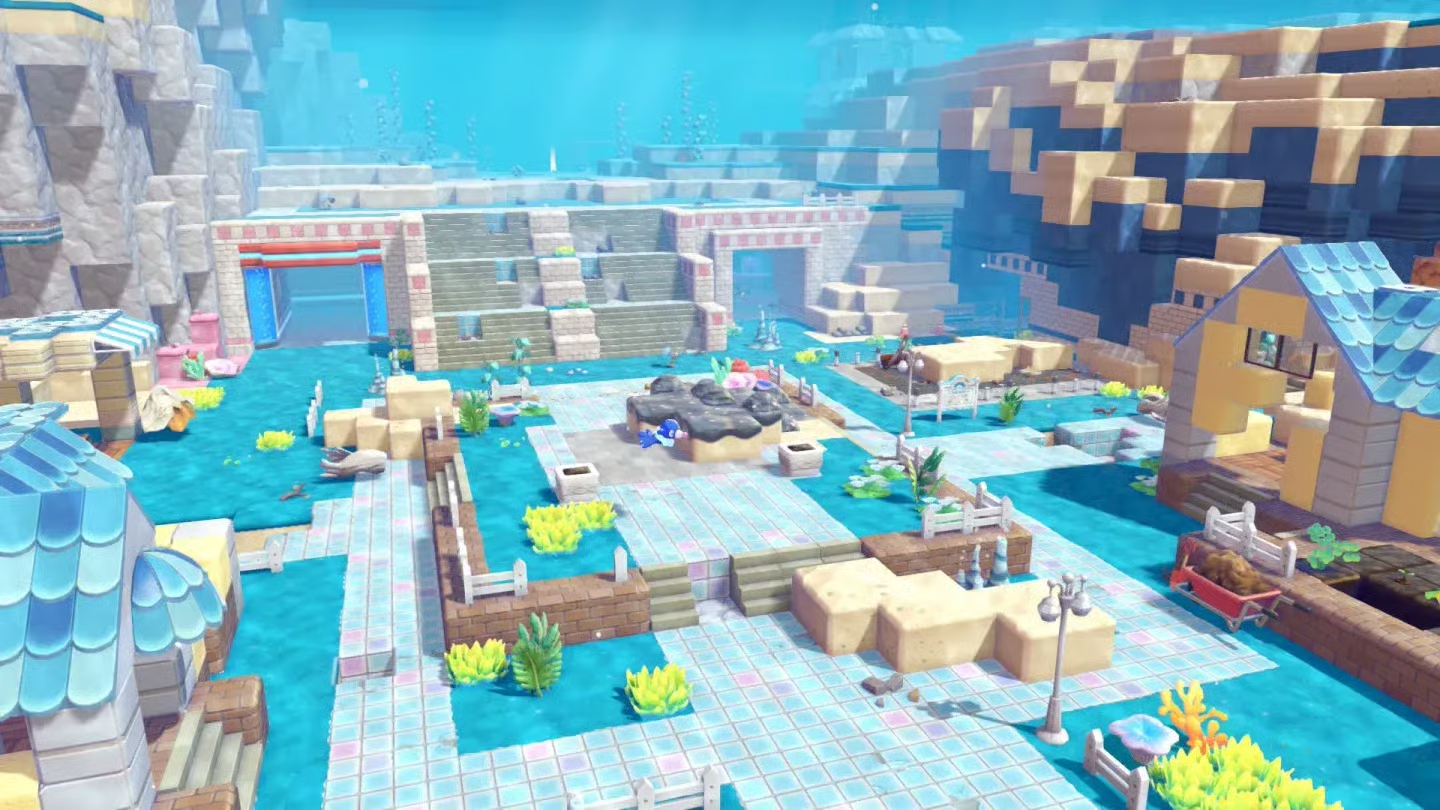
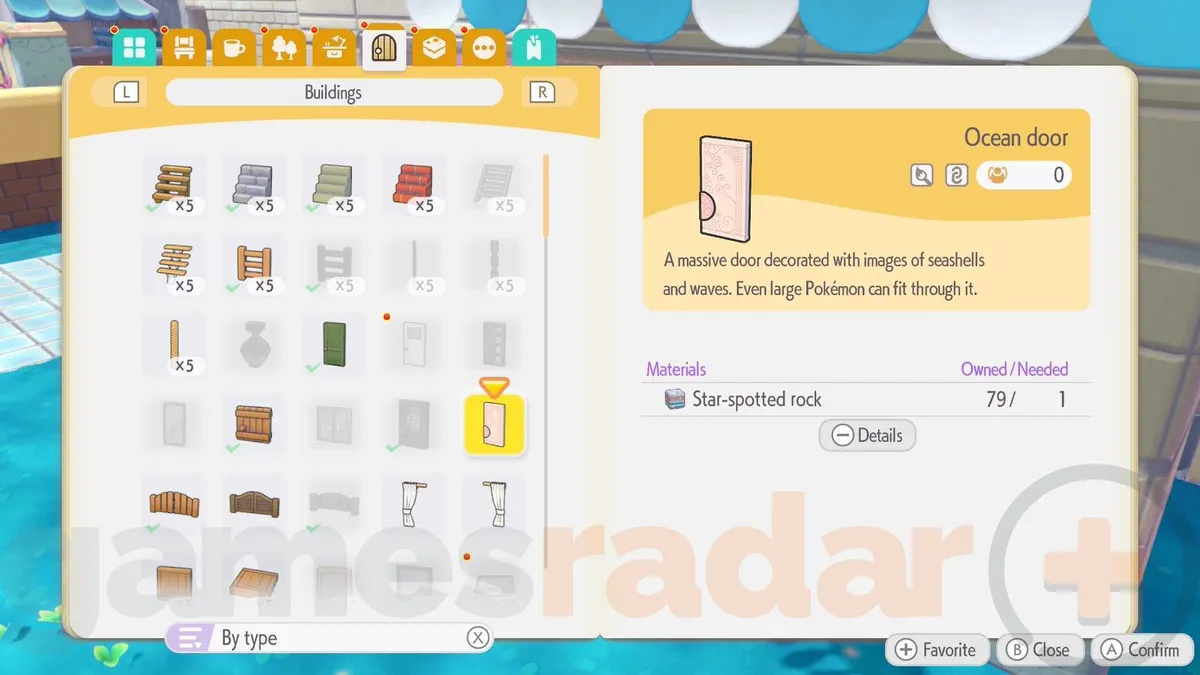
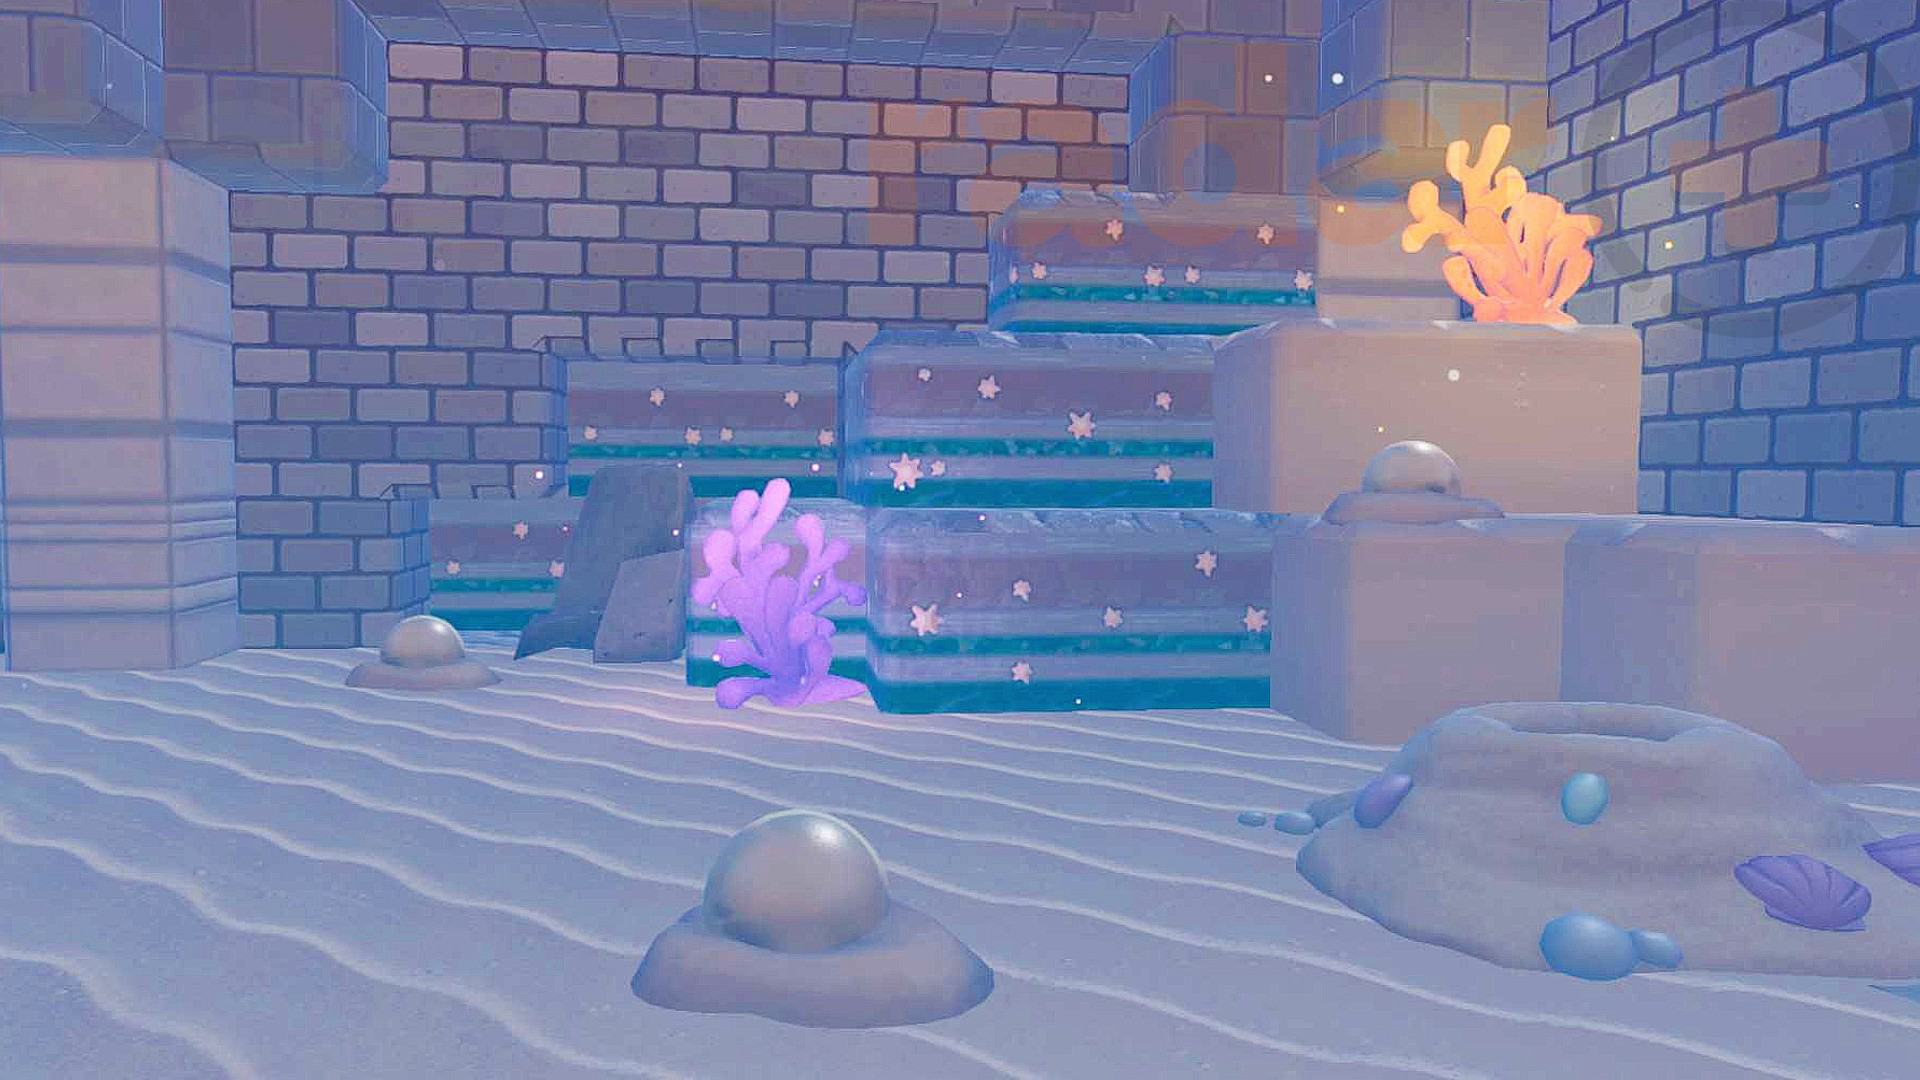
Bubbly Basin contains six Treasure Maps and six concealed rewards in Wave 1 of the Expansion Pass. Each drawing points to a destructible wall or floor, but owning the corresponding map is optional: you can visit any of the locations below and collect its treasure immediately.
The six prizes are decorative Poké Balls required by the Mermaid's Gym habitat. This Pokemon Pokopia guide for Switch 2 shows every map image, the exact route to each hidden room, and the final solution on screen.
All six rewards at a glance
| Map | Main landmark | Reward |
|---|---|---|
| No. 1 | Pokémon Center cave and waterwheel | Decorative Great Ball |
| No. 2 | Red pagoda-like tower | Decorative Heal Ball |
| No. 3 | Old Gym entrance | Decorative Dive Ball |
| No. 4 | Blue-crystal mine | Decorative Net Ball |
| No. 5 | Green-roofed house | Decorative Lure Ball |
| No. 6 | Ruins near the entrance gate | Decorative Quick Ball |
How to find Treasure Maps
New shimmering dig spots appear around Bubbly Basin each day. Use Rock Smash on one of these spots and it may contain a Treasure Map instead of a fossil, relic, CD, or another buried item. Maps are exclusive to this region, drop randomly, and can be obtained in any numbered order.
- The map drawing is only a clue; it is not a key that unlocks the treasure.
- A Pokémon with the Search specialty, such as Frillish Female Form, can point you toward a nearby treasure while you are carrying a Dowsing Machine.
- After collecting these prizes, their recipes can appear in the shop's rotating daily offers.
Treasure Map No. 1: Pokémon Center cave
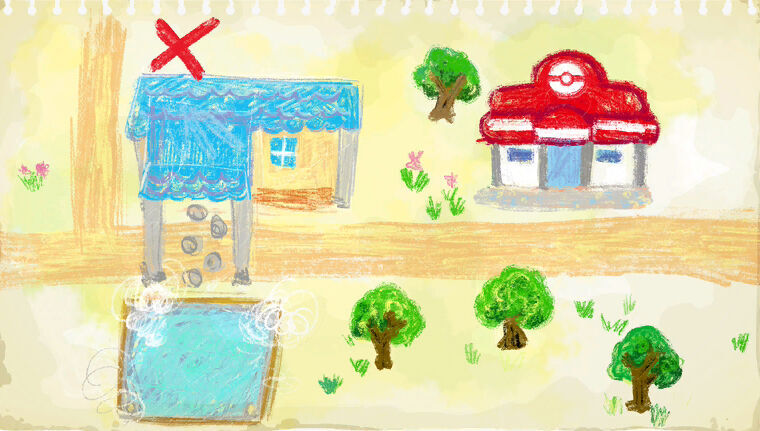
Reward: Decorative Great Ball.
- Enter the cave that houses Bubbly Basin's Pokémon Center building.
- From the Center, take the left-hand route toward the muddy water and hydraulic generator.
- Stand beside the waterwheel and break the wall immediately to its right.
- Walk into the newly revealed room and pick up the treasure.
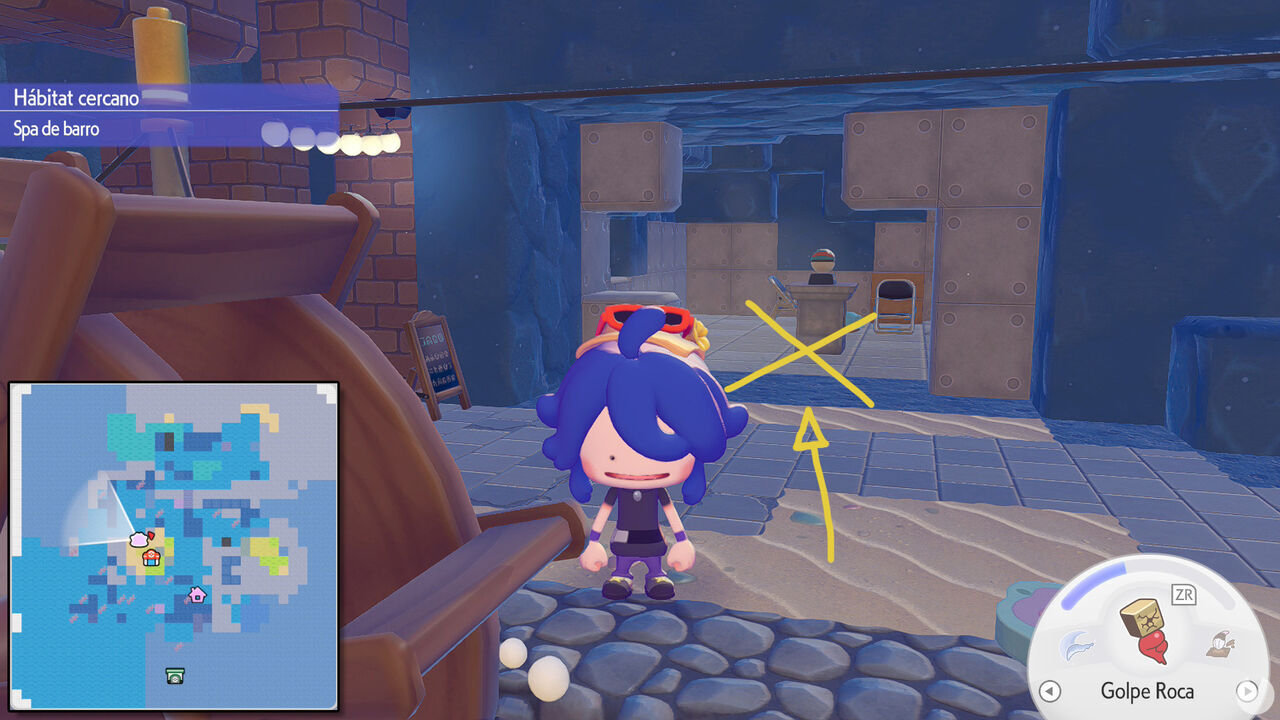
Treasure Map No. 2: red tower
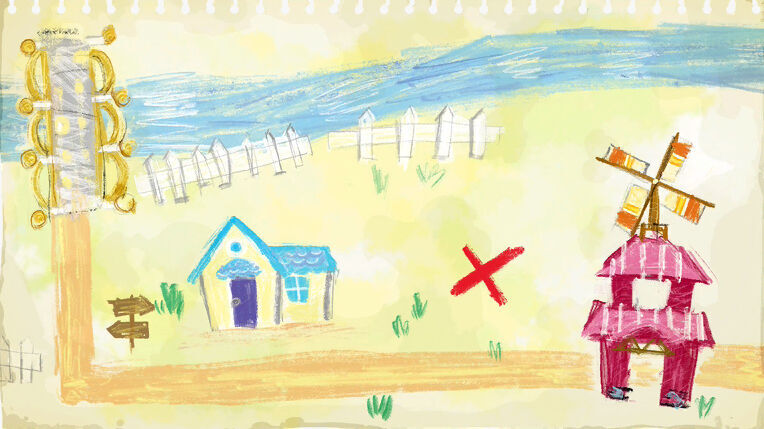
Reward: Decorative Heal Ball.
- Travel north from the neighborhood's starting plaza.
- Use the large red, pagoda-like building that rises above the water as your landmark.
- In the street in front of it, find the square of ground partly stained with mud.
- Smash that floor and drop through the opening into the reward room.
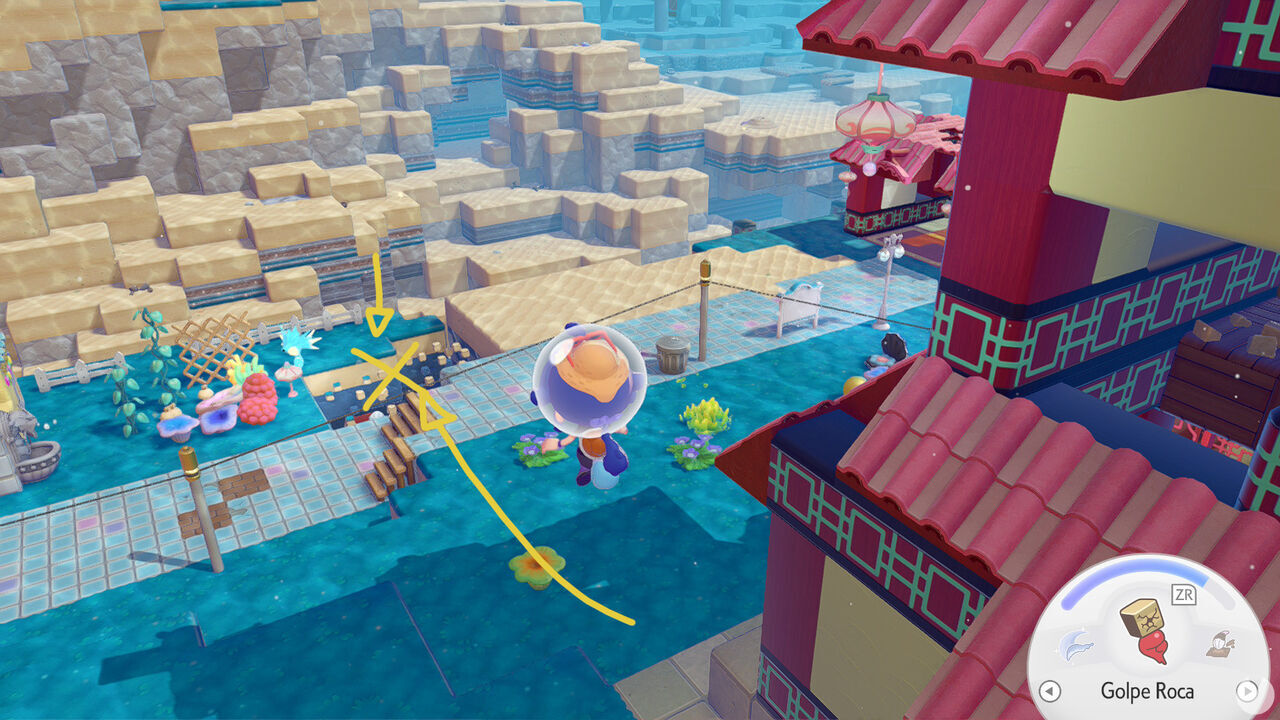
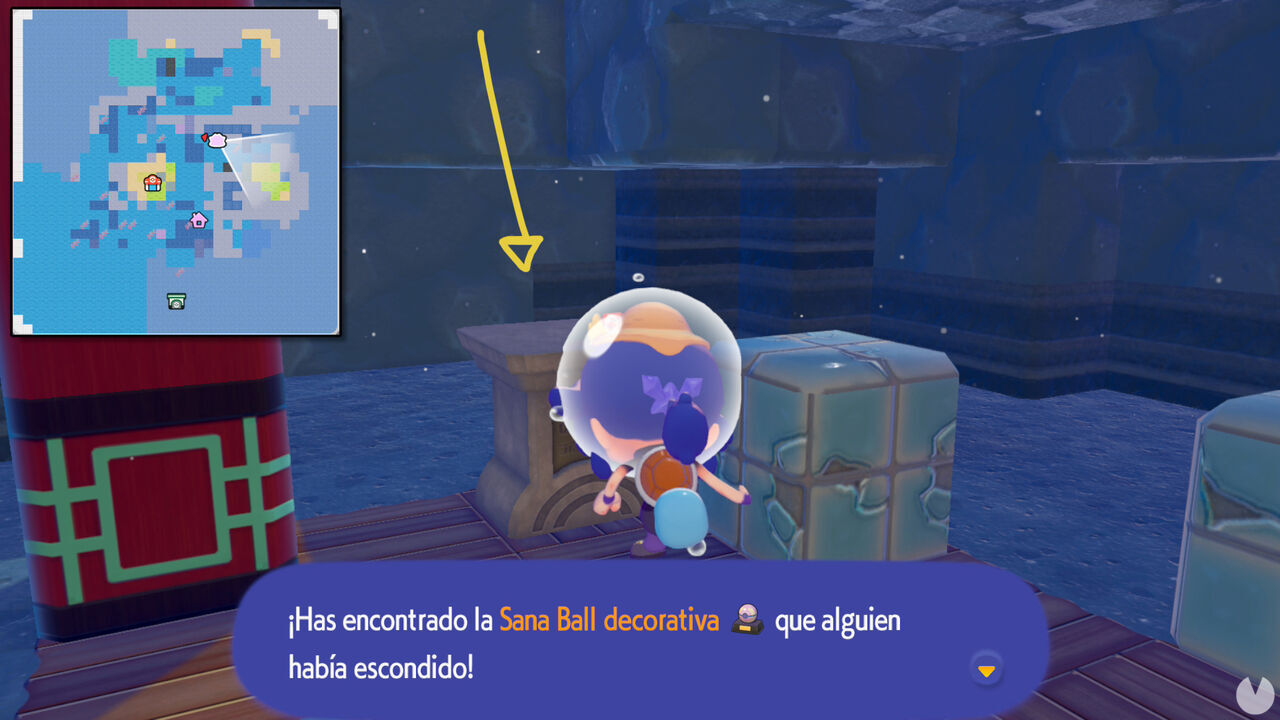
Treasure Map No. 3: old Gym
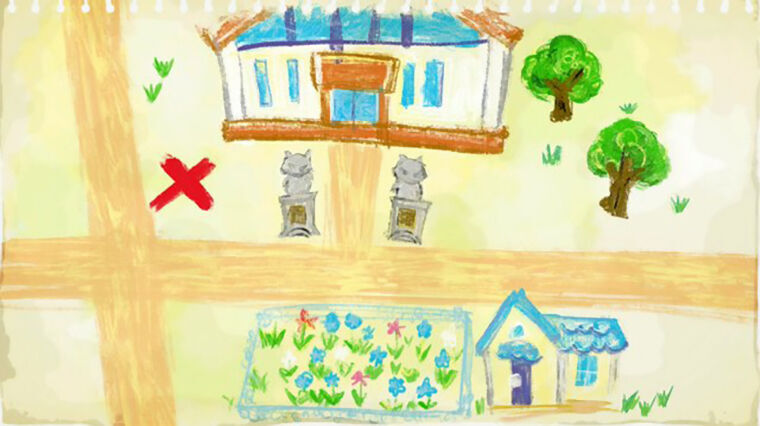
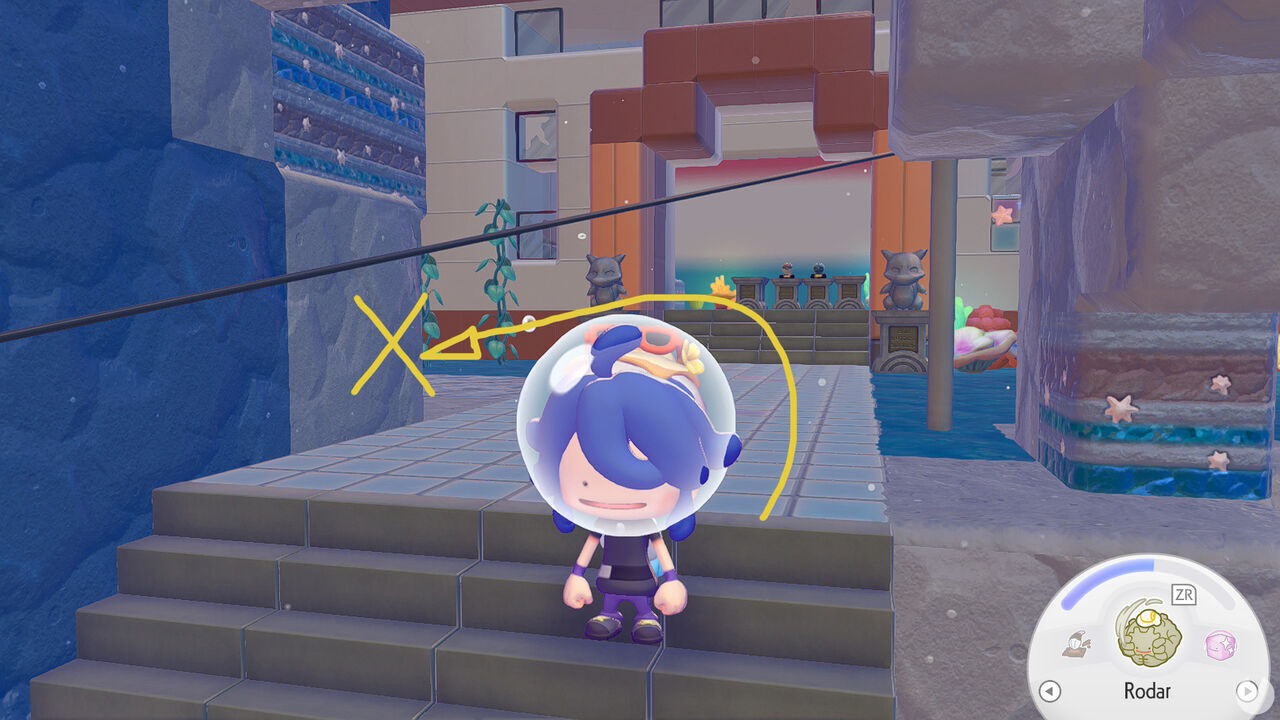
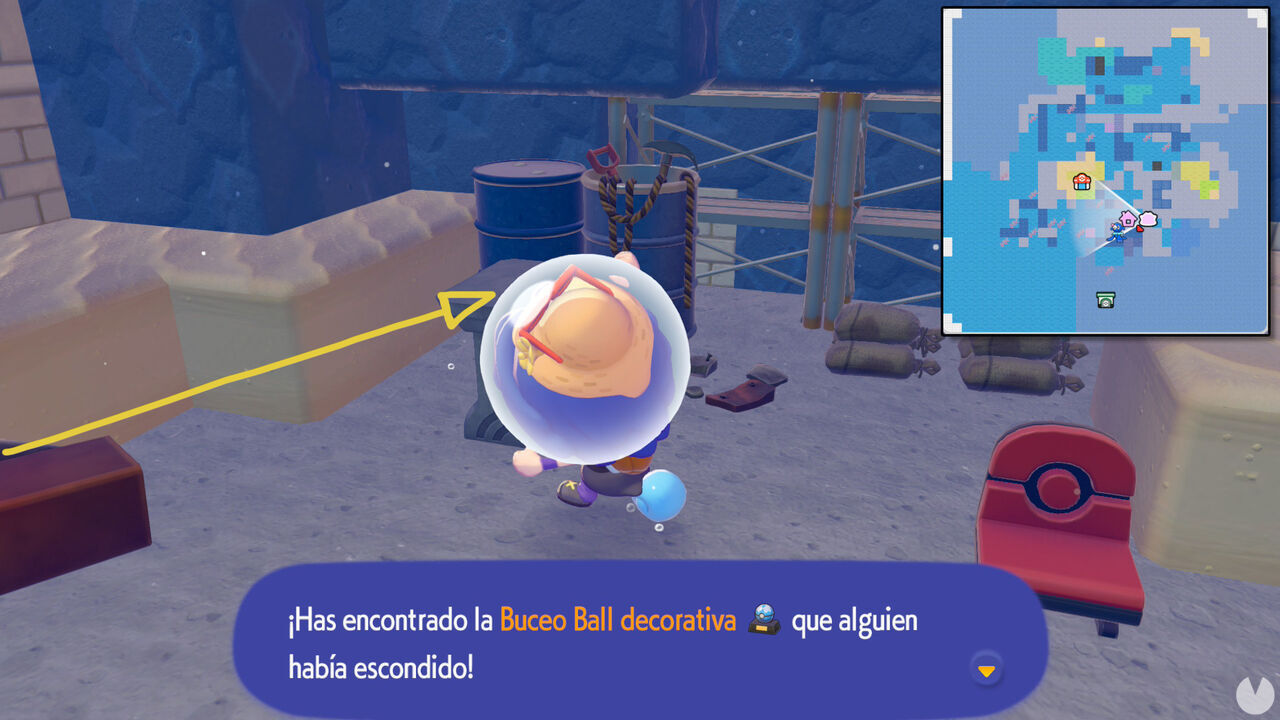
Reward: Decorative Dive Ball.
- Go to the old Gym slightly east of Bubbly Basin's main plaza.
- Clear the rocks blocking the approach until you reach the building entrance.
- Before entering, turn left and break the stone blocks indicated below.
- Descend into the small lower cave to collect the Ball.
Treasure Map No. 4: blue-crystal mine
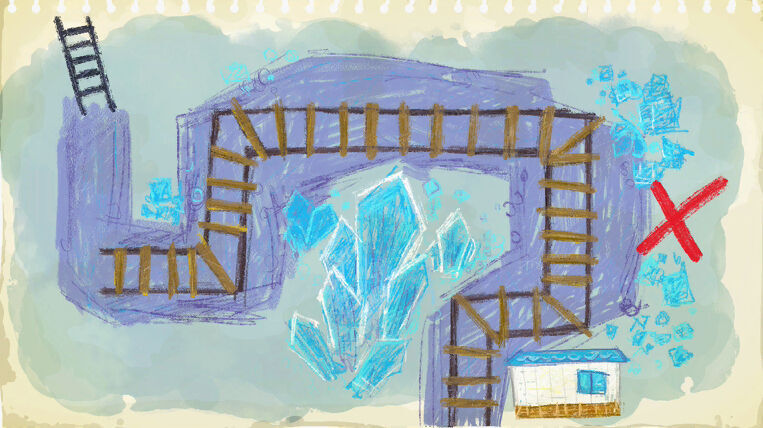
Reward: Decorative Net Ball.
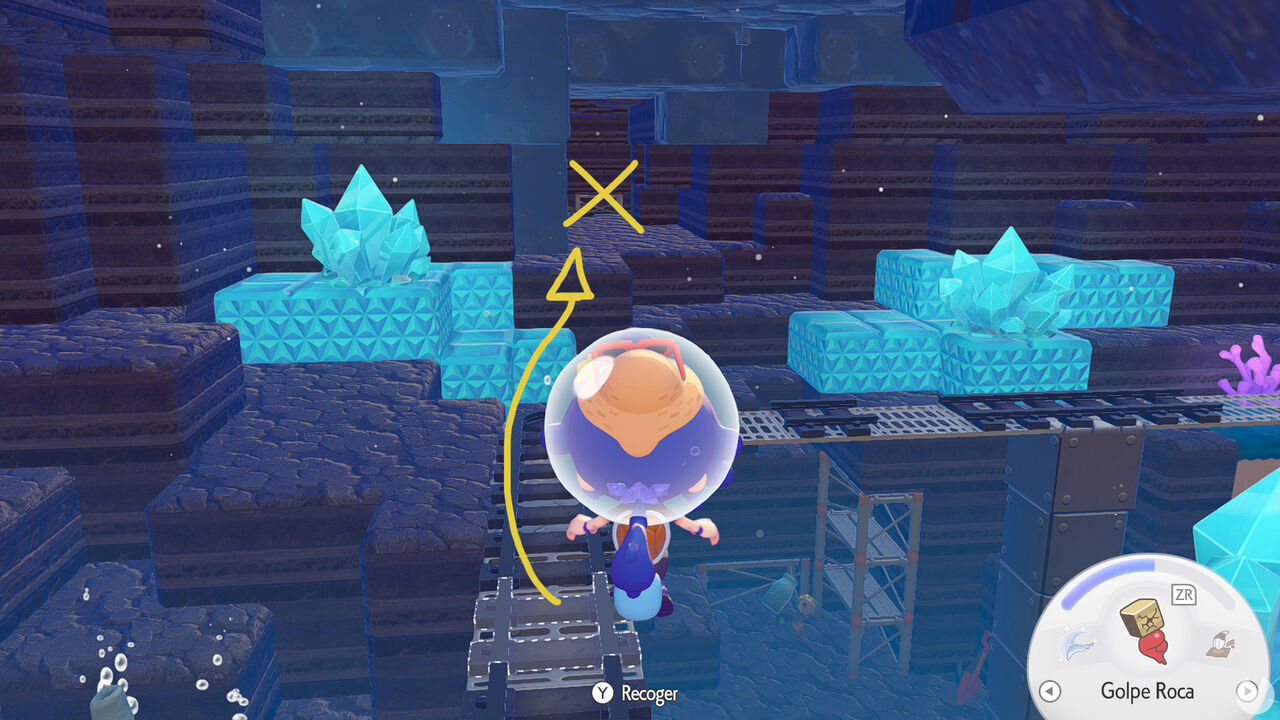
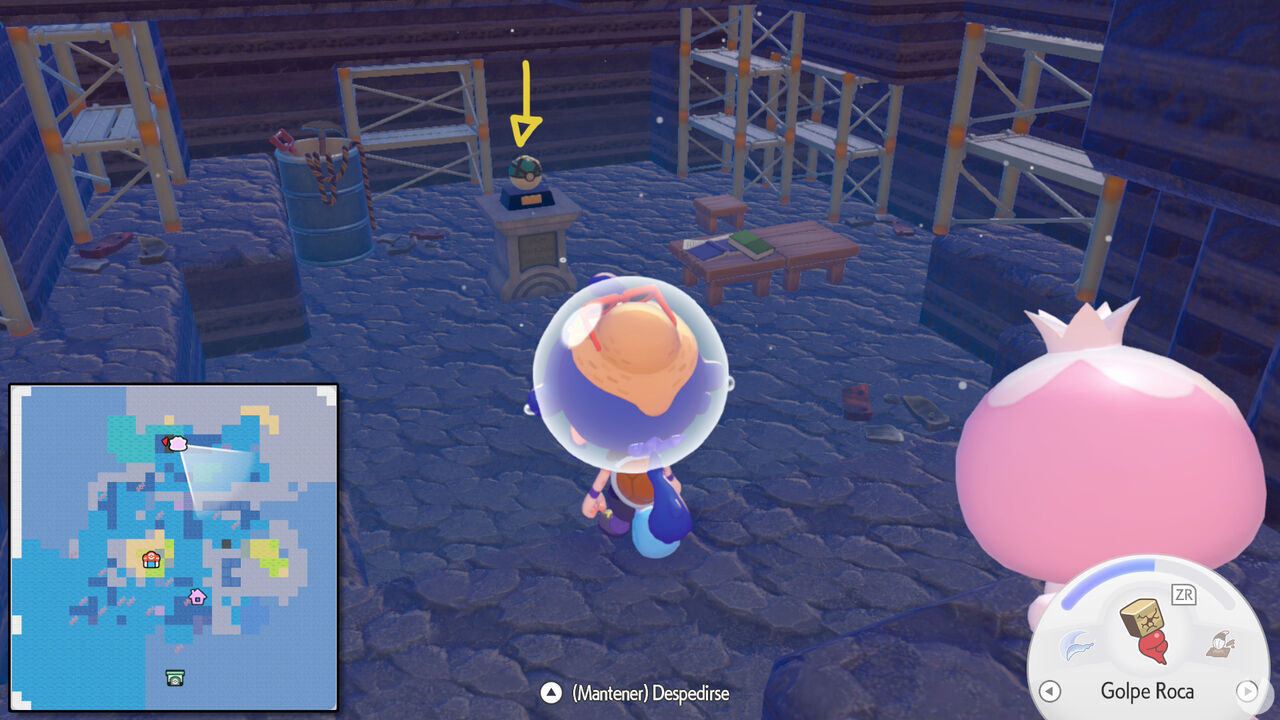
- Enter the deep mine filled with blue crystals in the north of Bubbly Basin. The story also takes you through this cave while helping Frillish Female Form.
- Continue to the central chamber containing minecart rails.
- Face the east side and destroy the wall shown in the route image.
- The decorative Ball is waiting inside the small chamber behind it.
Treasure Map No. 5: green-roofed house
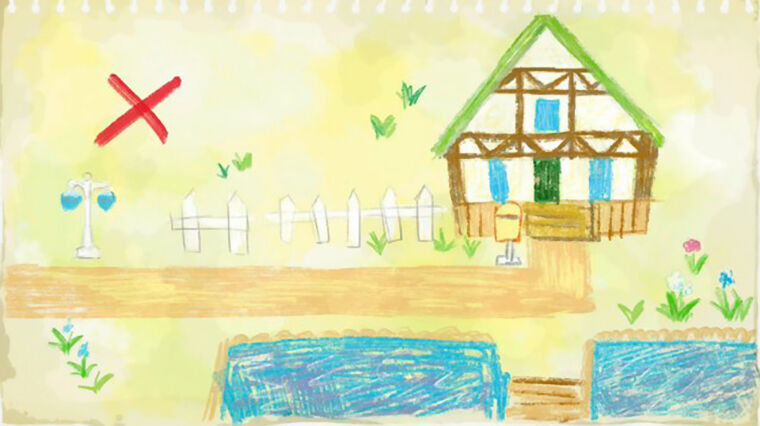
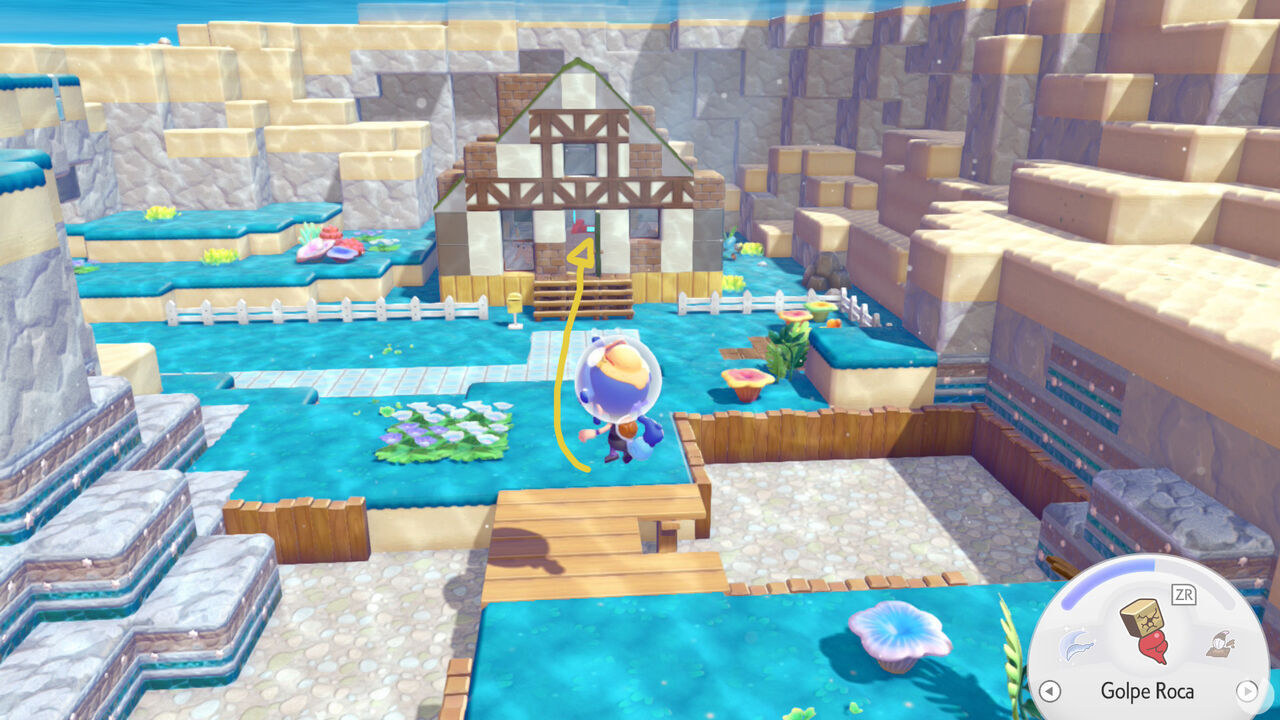
Reward: Decorative Lure Ball.
- Find the only green-roofed house in the neighborhood's northeast corner.
- Go indoors and walk behind the storage terminal.
- Take the concealed stairs down to the basement and enter the adjoining hidden room.
- Alternatively, break the ground outside, just left of the house, to fall into the same basement.
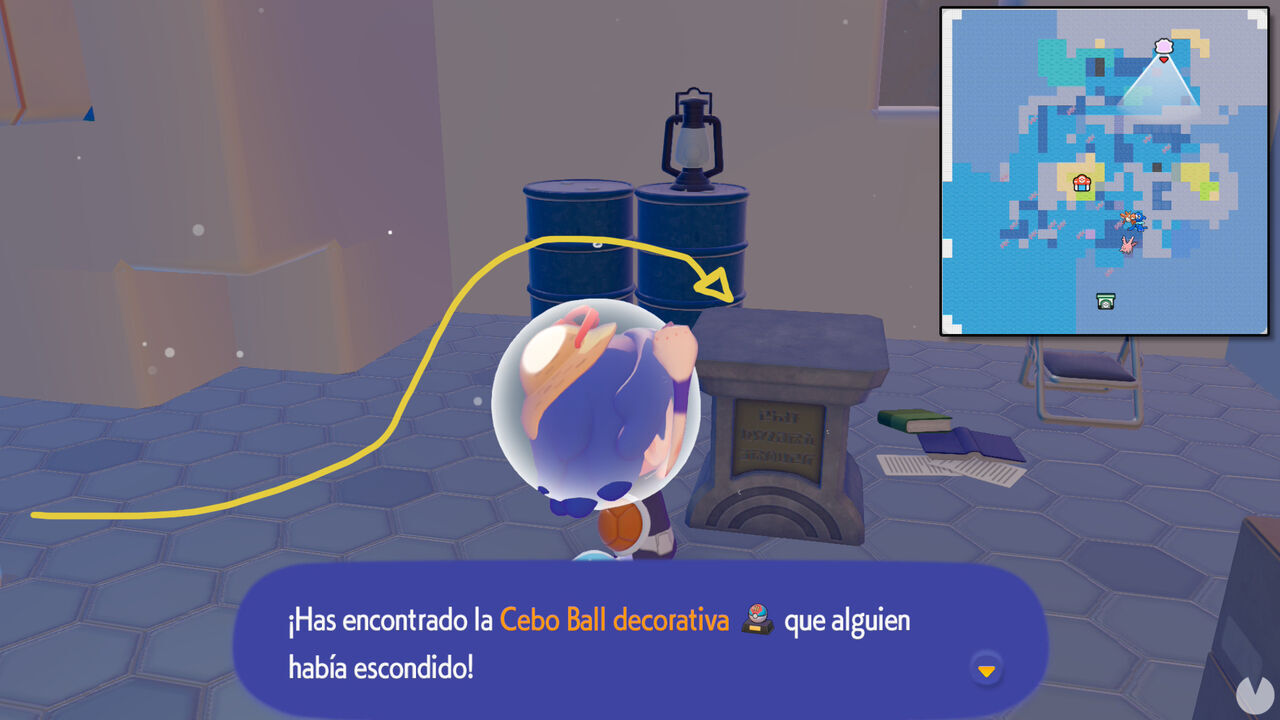
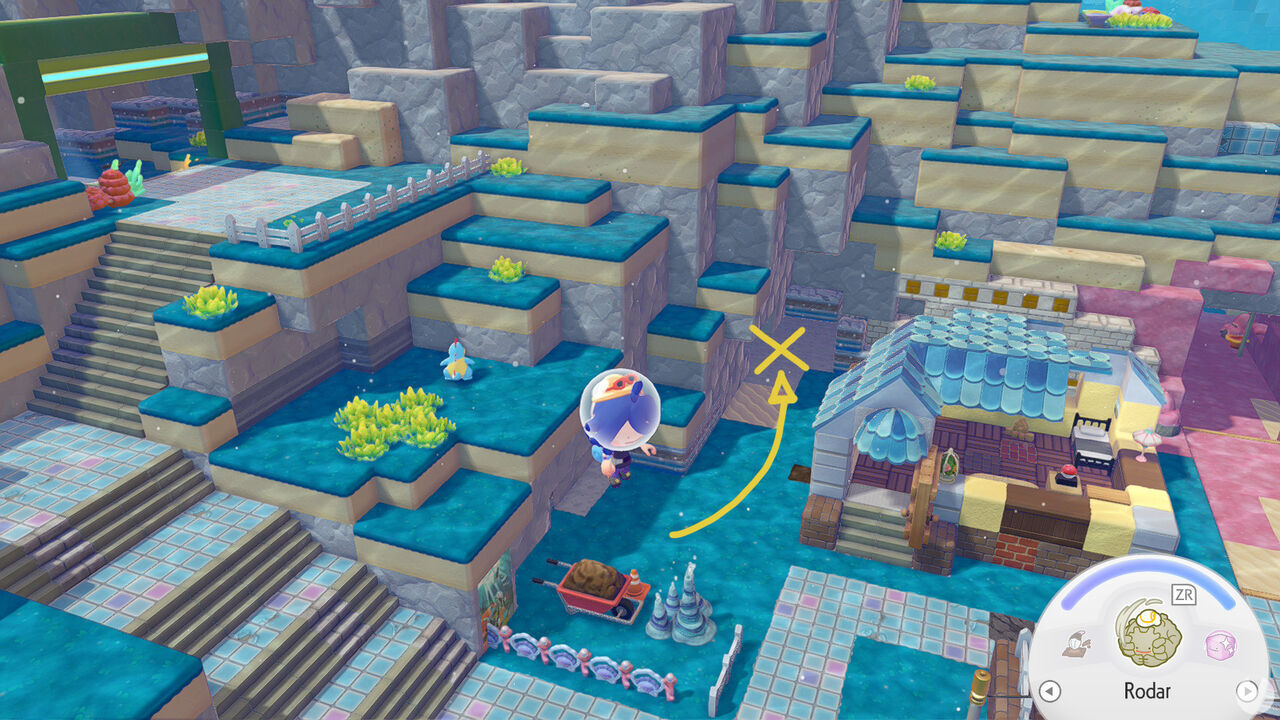
Treasure Map No. 6: entrance ruins
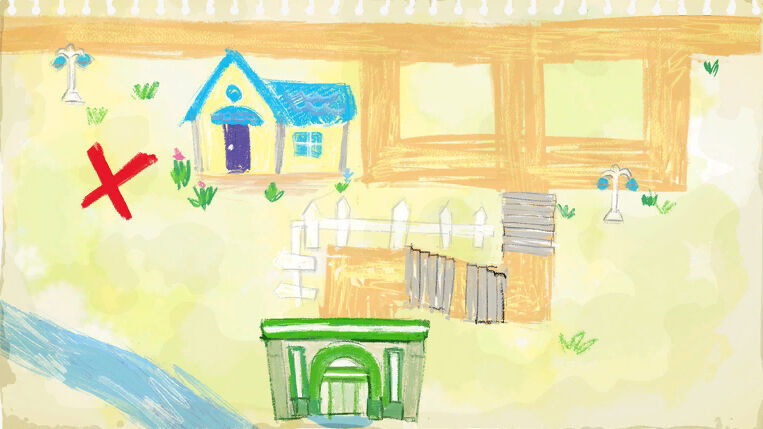
Reward: Decorative Quick Ball.
- Start at Bubbly Basin's entrance gate and descend the passage toward the main plaza.
- At the bottom, turn left and look behind the remains of a ruined house.
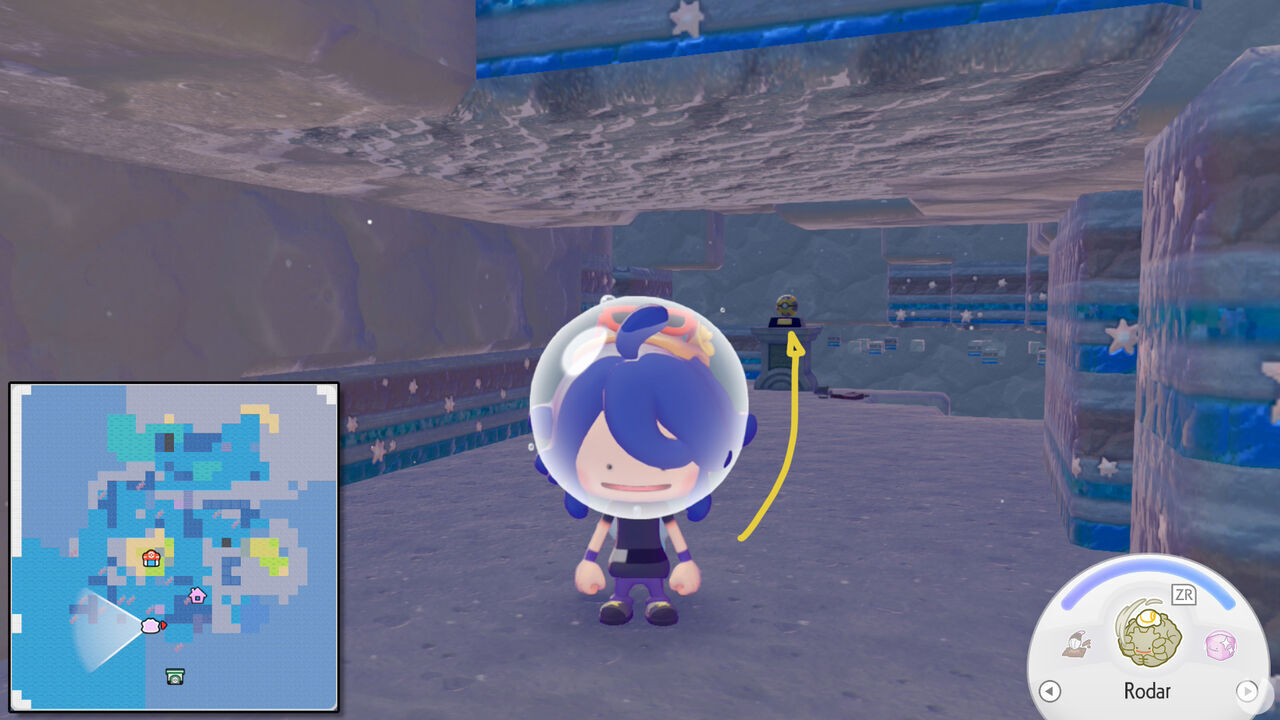
- Locate the cracked rocks marked with a star pattern and destroy them.
- Collect the final decorative Ball inside the shallow cave behind the rocks.
What to do after collecting every treasure
Keep one of each decorative Ball for the Mermaid's Gym habitat instead of placing or trading them elsewhere. If a recipe has not appeared yet, check the shop's daily selection on later days; the offers rotate, while the original treasure remains a one-time pickup.